How to Care for Your Natural Hair When You’re Wearing Protective Styles
Protective styles give you a break from styling your own natural hair and help you switch up your looks. They are gorgeous, and they make your life simpler. While you get to take a much-needed break from constantly having to style and prep your hair, that doesn’t mean that you still won’t have to care for your hair and scalp under the protective style.

Don’t sigh just yet, caring for your hair while in protective styles isn’t hard at all. To make it simpler for the newly natural who might be struggling with something like this, the process is broken into three: installation, protective style care, and post-installation.
Step 1: Installation:
Texture: to get things running, you have to know your curl type. How does this matter? Well, it will help you learn about your texture, its strong points, and the things you may have to run away from. Hair textures range from 1A to 4C, and trust me, your texture is somewhere in there.
Moisture: you’ll be putting your hair away, but you still need to ensure that your hair is adequately moisturized. Wash your hair with shampoo and remove any product build-up from your scalp before you start. You would have had your own deep conditioning ritual by now, so go on and add it to your pre-installation prep. Deep conditioning works well in allowing moisture to penetrate the hair shaft for a lasting moisturizing effect. This is to keep your hair well-protected in braids or under wigs or weaves.
Styling: unless your protective style of choice is a gorgeous wig you can throw on whenever you want, you might need a stylist to get things done for you. Pick salons that are natural hair-friendly. But before you settle for a place, a little research might be in order. Asking friends and family for recommendations is plus if you don’t have a stylist yourself. Social media is also a good place to start your search. There are stylists whose braiding or sew-in methods can damage your edges, and that’s one of the reasons you need to go to a place with a track record of styling natural hair.
Stay Vigilant: Your edges will suffer if your hair is braided too tight. It could even lead to tension alopecia, which is hair loss caused by tension and strain along the hairline. Let your stylist know you’ll not sacrifice your precious edges for style, and complain whenever you feel the hair is being pulled too tight. After getting your hair done, moisturizing your edges throughout the duration of the protective style will ensure that everything stays intact.
Step 2: Protective Style Care
Now that you’ve installed your braids, sew-in weave or wigs, your hair still needs some love and care as before.
Cleaning: You’ll need to ensure that your scalp stays clean and well-moisturized. Dropper oils will moisturize the scalp, while light oil sprays will protect the hair in the braids. Also, spraying dry shampoo on a weekly basis will effectively clean your hair in the period you’re wearing the wig or weave. There are also many specially formulated shampoos for this on the market.
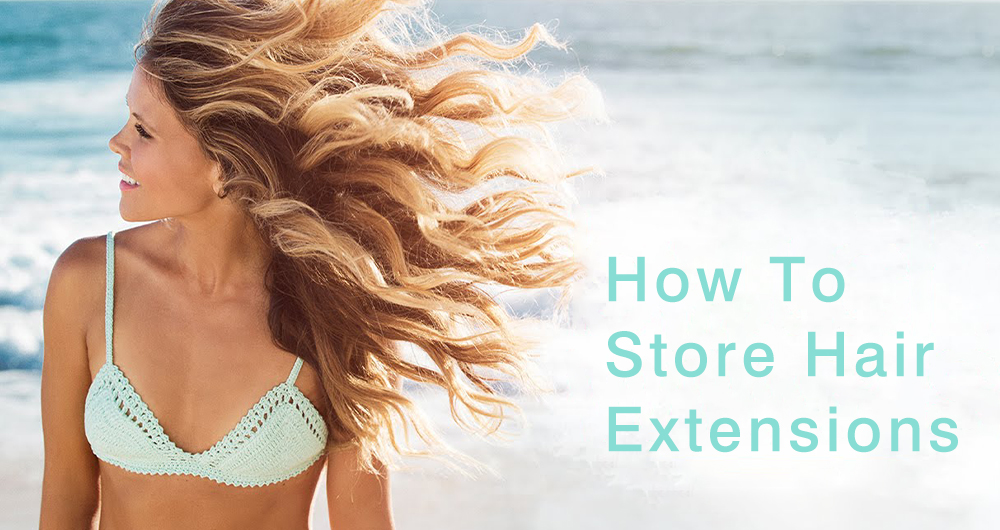
Avoid Salt Water: Sad news for lovers on the beach, but if you can find a way to keep your head dry while you frolic in the water, then by all means, you should go right ahead. The reason for this sea embargo is that salt water doesn’t love the hair too much, and this shows in the way it causes matted hair, dryness and breakage. A swim in the pool will not have the same effect as salt water, so you are free to go for a few laps. The trick is to dry your hair after your swim to stop your hair from being a fertile home for bacteria.
Keep Dry: As mentioned before, bacteria and mold will thrive in your hair if you leave it dirty and wet. Air your scalp as much as possible. Natural hair weaves and wigs are excellent for this because they are usually light enough to still allow the flow of air. Wigs are great in the sense that you can take them off and air the cornrows underneath, until you need to put on the wig again. Tea tree oil is a great antibacterial oil that will stop mold and bacteria from flourishing on your scalp. Regular apple cider vinegar rinses will also make your scalp unconducive for the growth of bacteria and mold.
Take it Down Sooner: No matter how pretty your hair is or how much you love the style, try not to wear it for too long. Experts advise that you take that down your wigs and weaves after 6 – 8 weeks. Your scalp and hair will relish the break and the ability to breathe normally again. Sleeping in your wigs is a no-no. But if you had been wearing the wig over cornrows, take the cornrows out after a couple of weeks and wash your hair. You should also wash, condition and dry the wig after a few weeks, but it should be completely dry before you put it away.
Step 3:Post Installation:
Now that your hair and scalp are free again, you can carry own with your normal haircare regimen. Inspect your scalp for any possible issues that may have happened when you had on your weaves, braids or wigs. Wash, condition and trim your hair as needed. Everyone knows how protective styles help you grow long hair and retain length, so now that your weaves are out, you should enjoy your own natural hair for a while and leave ample time between protective styles.


